astro image processing
Using Siril
Siril is an open-source software application for astrophotography, which allows pre-processing and processing of images from any type of camera. This is a very powerful software that allows you to get away with stacking, extracting the background, stretching, color calibration, and much more, all for free, not to mention that it’s available on Windows, MacOS, and Linux. Kinda makes it the perfect app for astro-image processing.
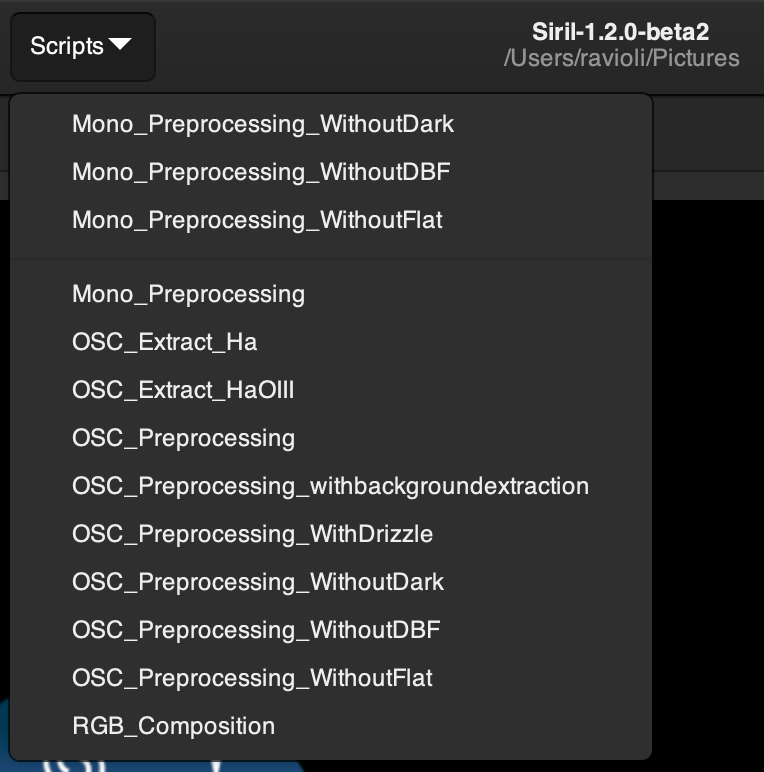
To get started, first download Siril using the link provided above and install it. In the realm of amateur astrophotography, we don’t always have the luxury of being able to capture all our calibration frames, be it due to time constraints or just being too tired after a long night of imaging. The default “scripts” Siril provides require that all the calibration frames be present, but there are additional scripts available. Following the instructions provided in the siril:scripts site, we can now begin to process images without all calibration frames, BUT just because we can process without calibration frames does not mean we give up capturing those frames entirely.

A thing to note is that once the script is running, it can and will take up large amounts of hard-disk space in a folder it creates called "process". This folder can be deleted once the final image "result.fit" is produced. It is imperative that you don't disturb the process of the script running, additionally, your device may become unresponsive during the process; best to leave it be and return once it's done stacking (should take anywhere between a couple of minutes to half an hour or longer depending on the number of images and processing capabilities of your device).

Following the above steps should (no promises) lead to a “results.fit” file in the same folder containing the folders of all your files. If the script fails for whatever reason, then Siril will provide reasons for the same. Additionally you can follow the guide to manual pre-processing written by Siril.
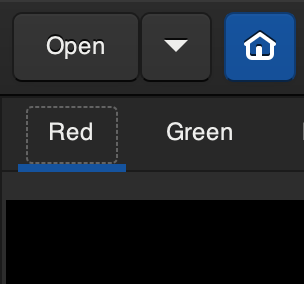
Now we can move on to importing the result.fit file back into Siril by using the “Open” button in the top left corner and navigating to the file. You should (not always the case, it’s possible to see the structure of extremely bright objects like Orion’s Nebula) see a completely pitch-black image with just a few stars poking out of it. Nothing to panic about, this is completely natural and is a direct result of the stacking process.
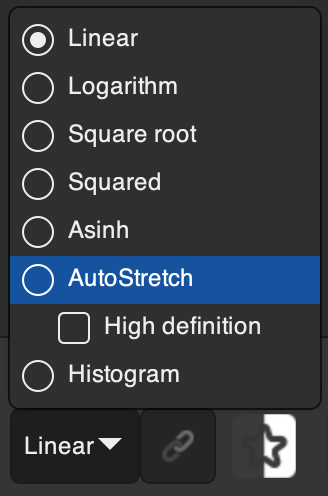
The data in our image is “compressed” into a very small region, which is why we mostly see black. We’ve gotta “stretch” our data in order to see the vast amount of detail that would otherwise be hidden, but before that, some changes to the image must be made.

Now onto the main changes to be made to the data: cropping, color calibration, and background extraction. With color calibration, the colors of the sky and objects are tweaked to make them more realistic. Background extraction samples the background at many places in the image and looks for a trend in the variations and removes it following a smoothed function to avoid removing nebulae with it.
The image should look black and white at this stage and this is because we are seeing the “Red” color channel of the image. In other words, you’re just seeing the data collected by the pixels that gather red light. Similarly, there’s a “Green” and “Blue” channel next to the red channel, all of them being below the “Open” button.
Let’s start by cropping the image to remove artifacts near the edges which may be caused by the stacking process. Siril themselves have a great tutorial on these first few steps. For this step, you can follow their tutorial on cropping.
Now we can perform background extraction again by following Siril’s guide. Once this is done, we can move on to looking at the “RGB” channel of the image only to find an image that’s completely green, blue, magenta, or any other color that doesn’t represent the sky or the target. This is completely normal and happens due to the white balance setting while taking the image.
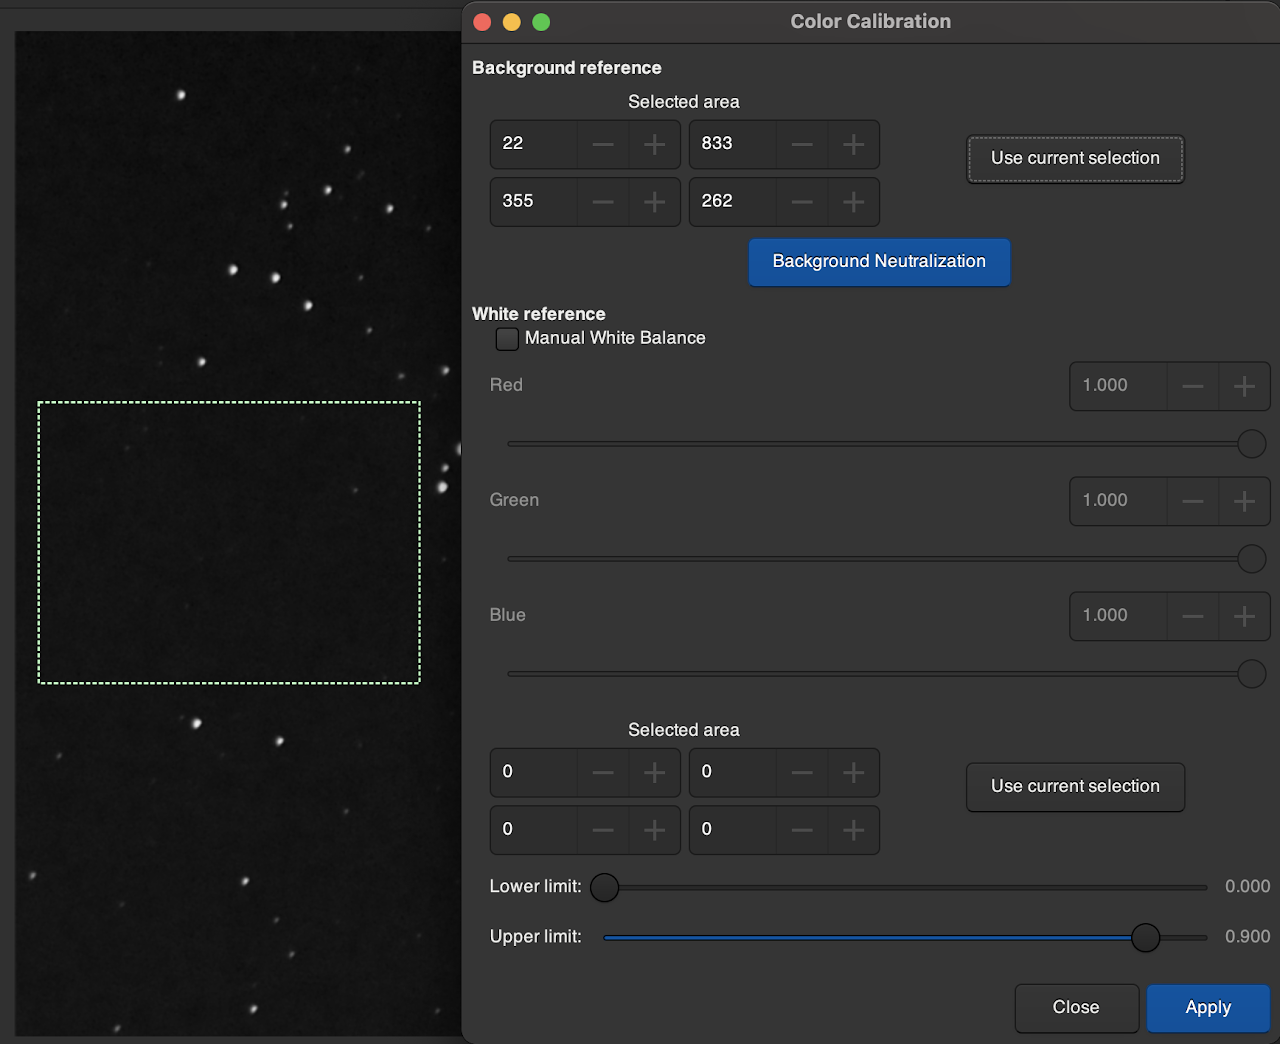
Once again, we follow the tutorial on Siril’s site and proceed with color calibration, however, Siril has used photometric color calibration, a technique that requires you to “plate solve” your image by entering the target you’ve imaged along with telescope and camera details (namely focal length and pixel size). Siril uses this information and detects the stars present in the image and compares the color of those stars to a catalog of known colors and adjusts the colors of the image to best match this catalog. Often this produces great results, but in the case that the plate solve fails, we have to resort to manual color calibration.
Note that you have to go back to any one of the Red, Green, or Blue channels to make selections on the image.

You can and should perform additional functions like noise reduction, median filter, etc in Siril itself. Play around with the settings to see what works best, there are limitless possibilities.

Processing Mono Images
The above guide showed the steps involved in processing a One Shot Color (OSC) image, i.e. an RGB image where the Red, Green, and Blue channels are already part of the image data. However, the typical astrophotography camera has a monochrome (black and white) sensor in order to collect more data in each channel.
Filters are used in front of the sensor to isolate various frequencies of light and effectively creates an image for each “channel” of the final image to be produced. 3 separate images are taken, each with a different filter to isolate different frequencies of light and they are mapped to their corresponding colors in software.
Common filters that are used are the Sulphur II, Oxygen III, Hydrogen-alpha, and Hydrogen-beta filters that isolate frequencies of light corresponding to the atom’s spectral emissions.
The stacking part of mono images remains unchanged from the regular OSC images, the only change being that we have to use the scripts labelled “Mono_”. Once the stacking is complete we do not need to perform anything on it and save the files according to the filter being used. Once all 3 or however many images are stacked and the files are correctly named and saved, we can go onto combine the images.